IT Windows Support
Onboarding, Windows Features, Windows 11, Docking Stations.
- How to Upgrade to Windows 11 (by Oct 2025)
- How to Map Network Drives (Shares) on a PC
- University Issued PCs - New Computer Guide
- Remote User First Time Login - PC
- How to Use a Dell Docking Station
- How to Find your PC's Network Name
How to Upgrade to Windows 11 (by Oct 2025)
The world and the university are transitioning to Windows 11. Microsoft has designated October 14, 2025 as the last day of support for Windows 10. After this date, Windows 10 operating systems will no longer receive security updates, non-security updates, or online technical content updates. Using Windows 10 beyond its end-of-life date poses significant security risks to the system and data. As a result, the university will transition all university-owned workstations to Windows 11 well before October 14, 2025.
Note: Any Windows computers that run offline do not need to be upgraded. Older lab equipment that requires these old systems can still be used so long as the computer stays off the network. Do keep in mind that as these systems age, replacement parts and the ability to repair them becomes increasingly difficult or impossible in many cases.
This guide outlines how the Department of Pharmacology plans to make the transition. There are essentially three options:
- Preferred Option: Follow the instructions below to download and install Windows 11 on your own computers that are currently running Windows 10. This option allows you to upgrade at a time that is convenient for you and does not require IT intervention.
Schedule a time for Matthew to upgrade your computer.- Starting in July of 2025, computers in Pharmacology detected on the network with Windows 10 will be upgraded automatically overnight.
Note: Mac Users using Bootcamp, Parallels or similar configurations to run Windows will also need to upgrade to Windows 11 within that environment. See Microsoft's page for more information.
Upgrade by Downloading Windows 11
Upgrading to Windows 11 will take at least 45 minutes from start to finish. Be sure you allot enough time for the process.
1. The simplest way to upgrade is to follow this link to download Installation Assistant for Windows 11. Once downloaded, launch the file from your browser downloads list or from inside your downloads folder.

2. Click The "Accept & Install" Button
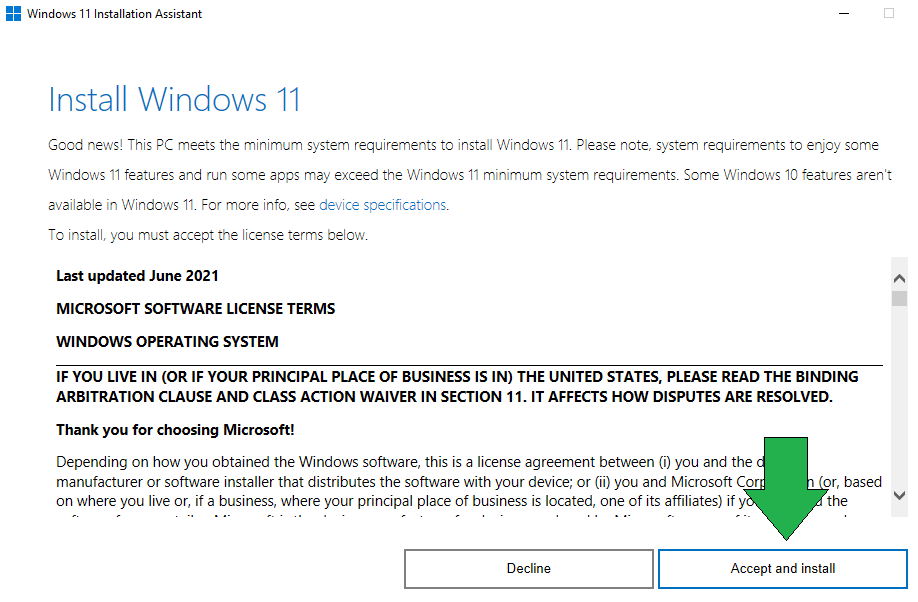
If you do not see the above screen, but instead see "This PC doesn't meet the minimum system requirements to install Windows 11," your computer may need to be configured with TPM turned on or its hardware does not meet the requirements. You will need to either upgrade the hardware or replace the computer.
3. It will take a few minutes to download. While you wait, doublecheck that you have backed up any essential data.
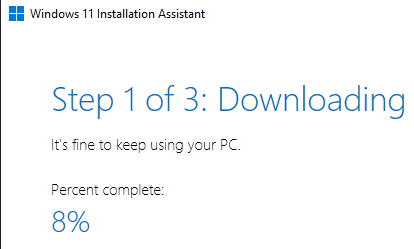
4. It will run a quick verification, and then begin installing (which takes around 30+ minutes):

Note: You can click the X in the top right to cancel the installation.
5. Once it is ready and you've closed any open programs, click Restart now, the computer will then take about 15 minutes to complete the installation:


6. After logging in, you will get this message:

7. Once you are fully logged in, most of your settings should still be in place. The start menu and icons will have moved to the center:

In some cases, the installer encounters an error and reverts to Windows 10. If this is the case, contact OIT for assistance using a secondary method.
Optional Settings Adjustments (Move Taskbar to the Left)
1. Open up Windows settings by pressing the WindowsKey+i (or open the start menu and click settings).
2. Select "Personalization" on the left side and go to "Start"
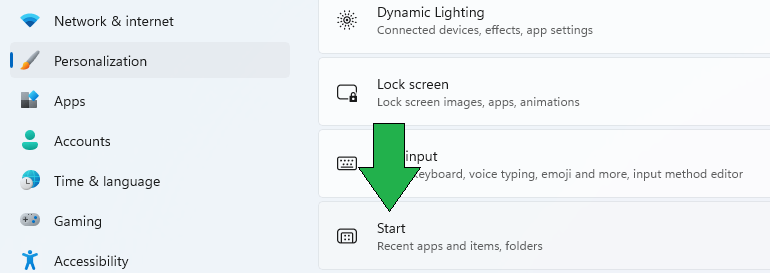
3. Turn off the setting for recommendations (you can adjust other settings here as desired):

4. Next, go back to Personalization and go into Taskbar settings:
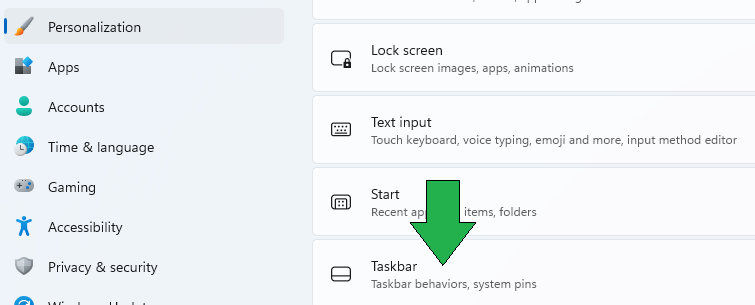
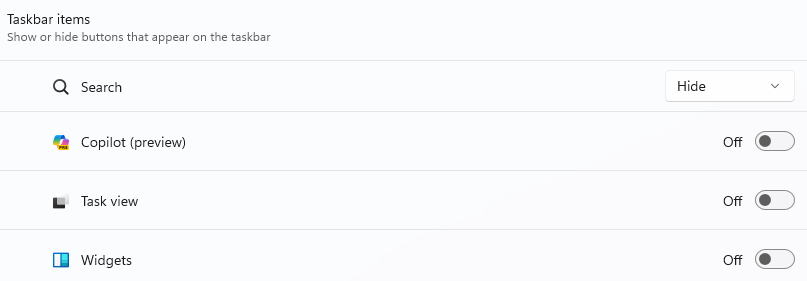
5. For the cleanest taskbar, set the first four settings off:
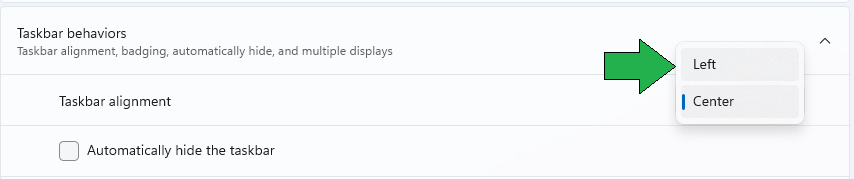
6. Scroll down and expand the Taskbar behaviors section. Change alignment to "Left" which will make the taskbar look more like Windows 10. Most of the other settings can be left as is according to your preferences.
Here is a link to an article that goes into more depth of customizing the look of Windows 11 to look more like Windows 10.
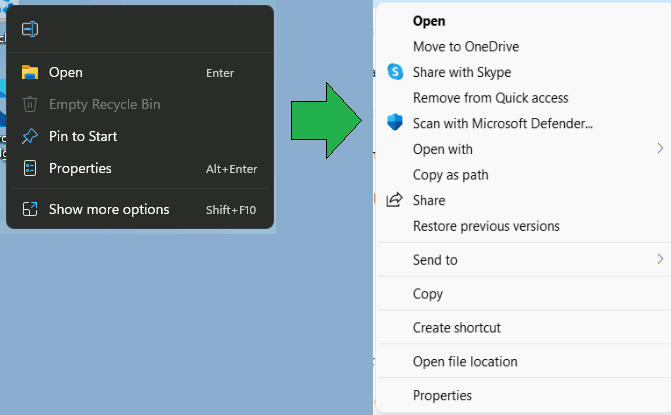
Optional: Use the full context menu (right-click menu)
2. The copy/paste the following command and press enter:
reg.exe add "HKCU\Software\Classes\CLSID\{86ca1aa0-34aa-4e8b-a509-50c905bae2a2}\InprocServer32" /f /ve3. Then log out and back in for the change to take effect:
Other Optional Adjustments
I've found a couple of online articles to help reduce ads, bloat, and other unwanted things in Windows 11. Always be careful with third-party instructions and software:
- How to Block the New Ads Microsoft Added to Windows 11 | Lifehacker
- How to Fix Search Results in the Windows 11 Start Menu | Lifehacker
- 10 overlooked Windows 11 features you need to try | PCWorld
How to Map Network Drives (Shares) on a PC
If you are using a Mac, please follow this guide instead.
2. This will open the “Map Network Drive” dialog box. Select a letter to use for the drive (I'm using P for Pharm in the screenshot). The address will always start with \\data.ucdenver.pvt\dept\SOM\pharm but may have more subfolders depending on the drive you need to access. Check the box for reconnecting at sign-in.
See the bottom of this article for a listing of Pharmacology shared drives.
If you're setting this up on a personal computer, make sure you're connected to the VPN first, and then be sure to check the box Connect using different credentials, and then choose 'more choices' in the login box. Enter UNIVERSITY\username in the username field and your university password in the password field.
Listing of Pharmacology Shared Drives
You need to be granted permission to the drive you are trying to connect to before these addresses will work!
University Issued PCs - New Computer Guide
Whether you are a new employee, getting an upgrade to an old computer, or switching from Mac to Windows, this guide will help you get started with your new PC on the CU Network.
Preparing to Transfer
If you are a current employee moving from an old computer, there are some things you can do ahead of time that will make the new computer setup quicker and easier.
- Export your bookmarks or use Chrome sync to save your bookmarks to the cloud
- Similarly you can sync your bookmarks on all major browsers by signing-in to the browser itself.
- Backup your files to a shared drive, personal drive, OneDrive, or flash drive.
- Make sure to copy everything important from your desktop, documents, and other locations that you use frequently.
First-Time Login
The first time you log into a University Windows computer, your profile is built from information on the network. For this reason, you need to connect to the ucdenver.pvt network before logging in.
On campus:
- Plug into an active ethernet port. You should see the globe icon in the lower-right change to a computer monitor icon.
- Connect to the "CU Anschutz" Wi-Fi network. Guest networks and the CUMedicine networks do not connect properly.
Off-campus:
- Follow these instructions to connect to the VPN before your login. Your computer needs to have been specifically setup for this, so contact IT support if this option doesn't appear on your computer.
- Once you've connected, you can click "Other User" in the lower-left and then login with your University credentials. After this first time, the profile is saved on the computer and you no longer need to connect first.
Automatic Sign-Ins
Several programs and features will automatically sign-in based on your Windows profile. Doublecheck that each of these programs synced correctly:
- Microsoft Office Apps, including Outlook
- Microsoft Teams (if your lab/team uses it)
- Microsoft Edge bookmarks (if you use Edge)
- Microsoft OneDrive (if you backed your files up to OneDrive)
- Shared Drives should show up automatically in File Explorer. If not, you may need to manually connect following these instructions.
For Outlook, it is a good idea to open it and wait for all the loading to complete. This process can take a while on the first login if you have a lot of emails. It is complete when it says "All folders are up to date." on the bottom of Outlook.
If you use a browser's "sign-in to sync" feature, open the browser and sign in now to confirm that you have your bookmarks, extensions, and settings synced.
Transfer Data
Copy data from the "Preparing to Transfer" step above onto the new computer. If you used OneDrive, sign in and the files should immediately sync and become available. If you used an external flash drive or hard drive, plug it in and copy/paste the files over. If you used a network drive, copy/paste the files from the network drive (see "Shared Drives" above).
Manual Sign-ins
Depending on your needs, you may other software to install and/or sign-in to. If you have questions or need assistance with this, contact IT.
Other Steps
Here are links to some other guides that are useful when setting up a new computer:
- How to Use a Dell Docking Station
- How to Install Adobe Acrobat (& Other Adobe Apps)
- How to Install the Konica Minolta Printers
- How to Map Network Drives (Shares) on a PC
Remote User First Time Login - PC
Make sure that IT has set up your computer for this feature before following these steps. You should see the following icon on the Windows login screen in the bottom right corner (next to your wifi/internet icon):
 Make sure you are connected to a Wi-Fi network or ethernet before continuing.
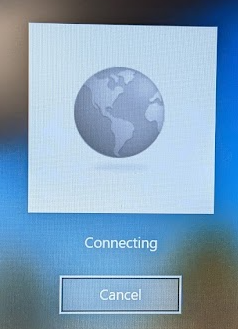
1. Click on this double-monitor icon to begin the process and you should see a loading screen and then a login screen:
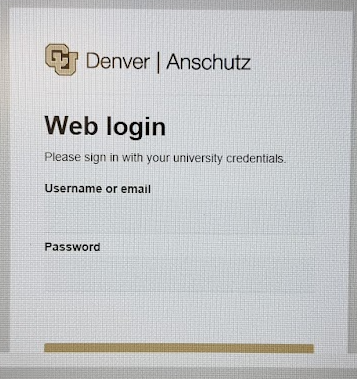
2. Enter your university credentials, complete the Duo multifactor authentication, and you should see this screen:
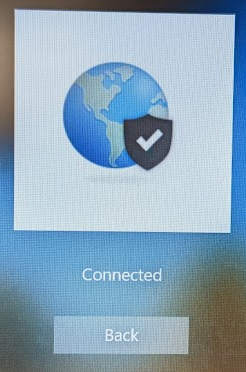
3. Click "Back" and you should now have the following icons in the bottom right of the screen:

4. This means you are successfully connected and can log into the computer for the first time. Click on "Other User" in the lower-left and log in with your university credentials.
Note: You do not need to connect before login after this initial time, so you should be able to use the laptop normally. If you would like, you can click the monitors with an "x" symbol to disconnect and then not use the feature.
How to Use a Dell Docking Station
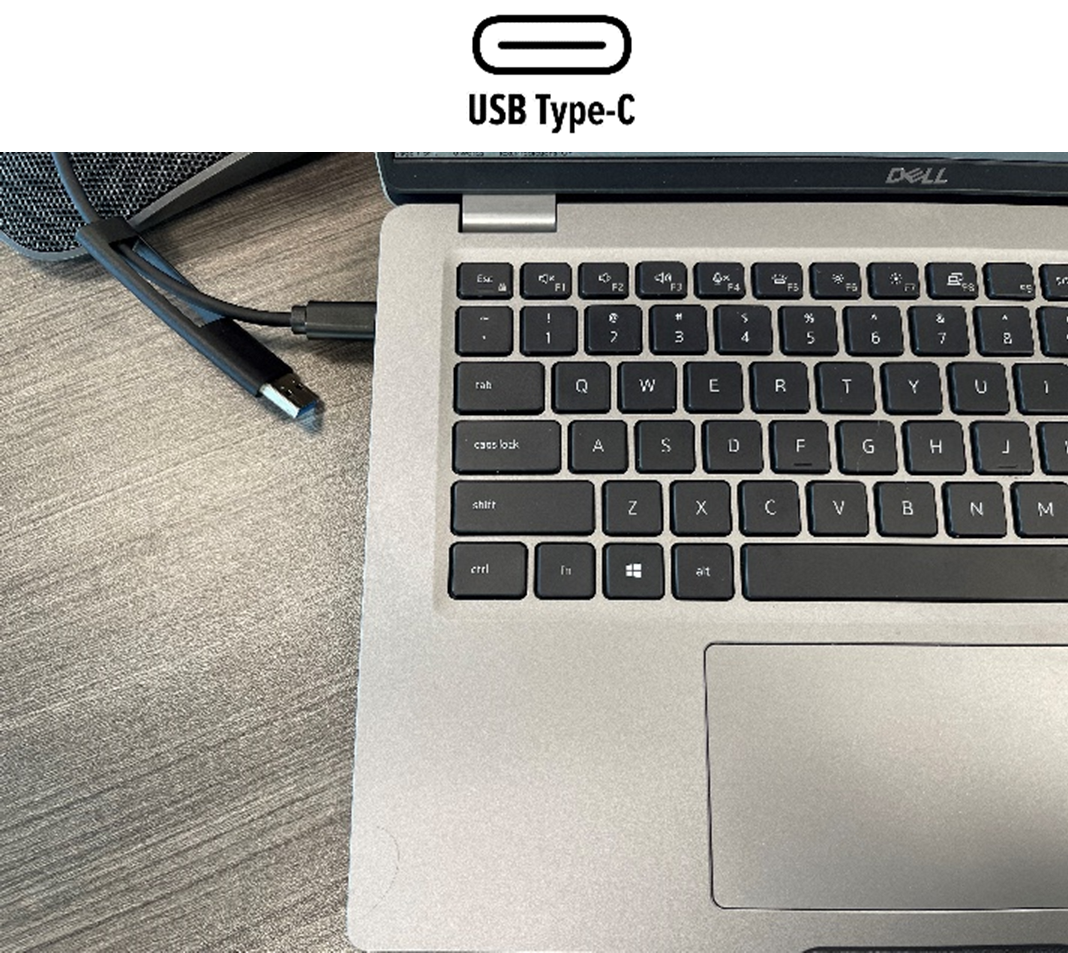
To use monitors with your laptop, start by connecting laptop using the black Docking Station cable:
Note: While there are two ways to connect, the first method is preferred. Only use the second method if you do not have any USB-C ports on your computer. Newer docking stations do not include the adapter.
 OR
OR 
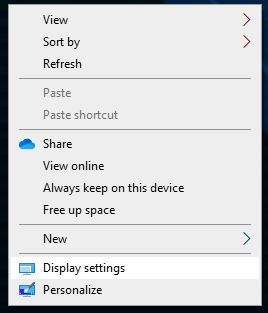
To set up and change how the monitors mirror or extend your laptop screen, right-click on the desktop and select "Display Settings"
The computer labels each monitor including the laptop screen with a number. Click "Identify" to see which monitor is which number, then you can move them into the formation you wish and press apply.
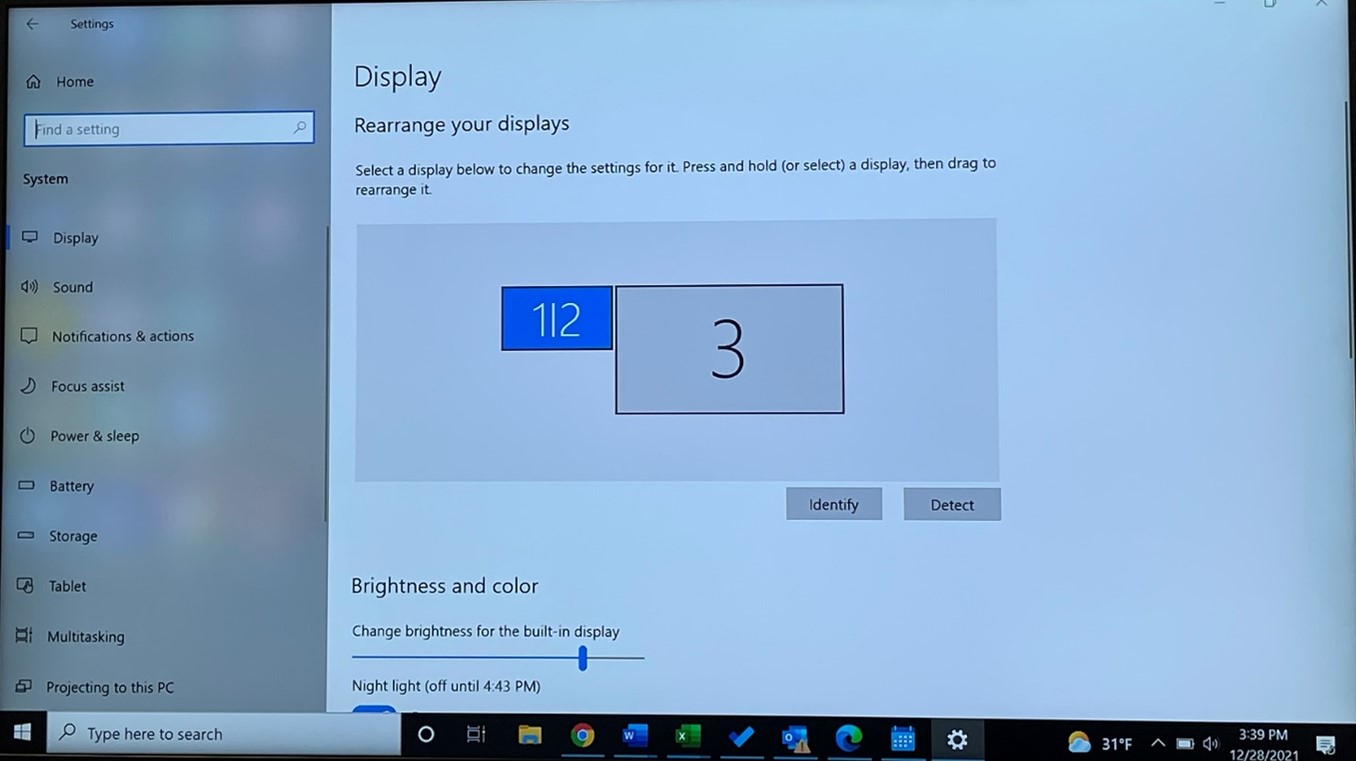
In this example, the laptop (#1) and monitor #2 are mirroring, while monitor #3 is placed to the right and is extending. If you want to extend all monitors, select the 1/2 Box as shown, then scroll down and change "Duplicate these displays" to "Extend these displays."
Troubleshooting
If you are having issues with your Dell Dock including:
- Keyboard/Mouse not responding
- *Screens not displaying (additional solution below)
- Unreliable internet connection through the dock
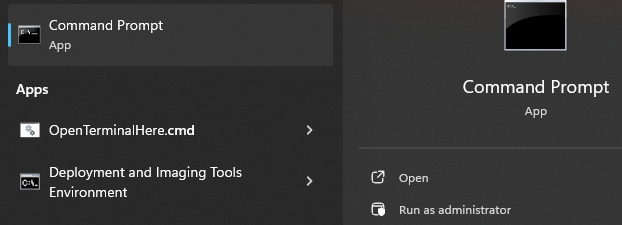
Running the program "Dell Command | Update" will usually resolve most of these issues. Check the start menu for the program as it should already be installed.

If it doesn't show on your start menu, you will need to go to https://www.dell.com/support/home/Drivers/DriversDetails?driverId=DDVDP to download and install it.
1. When you open Dell Command | Update, if you get the popup for setup, choose the first option and click OK

2. Click the "Check" button

3. Once the check completes, if updates have been identified, you can then click the "Install" button

4. Wait for the updates to complete (some functions may temporarily reset such as the screens flickering during this process). Then you can close the program
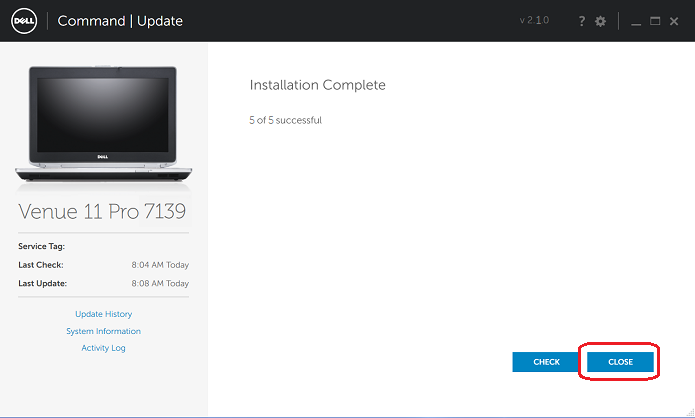
5. Often you will need to restart the computer to finalize the updates.
*Sometimes these updates do not install the needed drivers for the monitors. For this, click here and install the displaylink driver file.
If you are still experiencing issues, try the following process after completing the updates:
- Remove the Docking Station cable from the computer.
- Unplug AC power from the Docking Station (usually has a blue light).
- Drain any remaining power to the Docking Station by holding the power button for 30 seconds (if you have a power button on your model).
- Plug AC power back into the Docking Station.
- Plug the Docking Station cable back into the computer.
How to Find your PC's Network Name
Network names are important to help technicians identify and troubleshoot issues with your computer. If you are asked to find your computer name, here are the best ways to find your computer's network name. Newer computers follow a format along the lines of: DEPT-M-A1B2C3D but it could be something very different.
Note: If you are using a Mac computer, technicians cannot use your computer name to perform troubleshooting, so simply inform them that you are using a Mac.
Option 1
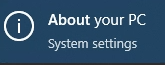
If you are able to log in to the computer, you can click the search bar next to the Windows start button and search for "About your PC." Open up the top result and you will see the computer name as well as other information about your computer. This is the best option because the additional information can be helpful for troubleshooting as well.
Option 2
Depending on the age of your computer, it may have been deployed with a label of its name. Simply look around the screen of your laptop (or near the keyboard) for the label. If it's a desktop computer, look at the top of the tower for the label.
Option 3
If you do not have a label, but are using a Dell computer, the service tag will help the technician find the full computer name. On laptops the service tag is on the bottom of the laptop next to other regulatory information/logos. It may have "ST" before it. On Dell desktops, the service tag is usually at the top of the tower.
Note: For computers over 5 years old, the service tag may not help find the network name, try method 4 below:
Option 4
If other methods did not work, go to the Windows login screen and select "Other User." Then type in .\ for the username and you will see the name of the computer appear beneath the password field.