Set up RClone to Mount a SharePoint Drive
Scripted Setup
I have made a script (right-click and "save link as" to download) to help get rclone set up quickly. If the script doesn't work for you, the steps that the script does at listed at the bottom of this guide.
First, download and install this program: https://winfsp.dev/rel/
-Download the Installer and follow the wizard with default settings to install.
Script Steps
- Download the script from this link and save it to your downloads folder
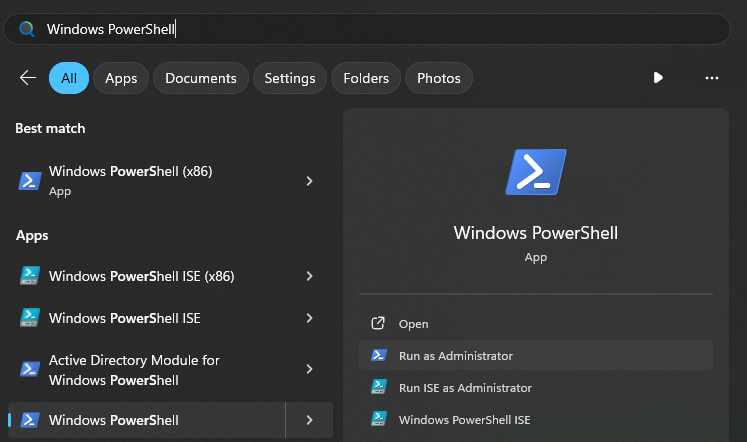
- Open PowerShell as an administrator:
- Paste the following commands and press enter (one line at a time):
cd ~\Downloads .\setup-rclone.ps1 - Follow the guided prompts. Details below:
Guided Prompts
Most of the following commands are from rclone's OneDrive guide, which you can reference here.
You should see an interactive options selection like this:
- Type n and press enter for a new remote
- Type a name for it, I'm using "kennedylab" for this example
- Type the number showing next to OneDrive (in my case, it was 35)
- Leave the client_id blank and press enter
- Leave the client_secret blank as well
- Type 1 for region (Microsoft Cloud Global)
- Type n to skip advanced configuration
- Type y to set up authentication
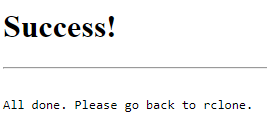
Your browser will automatically show a sign-in screen. Sign in with your University credentials and then you should see this confirmation in your browser:
Back at the PowerShell window:
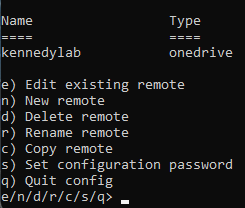
You should now see a main menu again:
Type q to quit the configuration wizard.
You should now see a shortcut to mount the drive to L:\ on your Desktop. Double-click it and you should see the share in File Explorer
The drive should automatically mount when logging in as well.
Mounting the drive opens a minimized command prompt window. Closing the command prompt will unmount the drive.
Manual Steps if the Script Doesn't Work
You will still need to install winfsp from the link at the top of this guide.
Download rclone from this page (for windows select the Intel/AMD 64 bit one). Extract it and put the extracted folder in an easy to find location.
Open a command prompt (Search for cmd)
Change the directory your command prompt is in to inside your extracted folder. For example:
cd %USERPROFILE%\Downloads\rclone-v1.62.2-windows-amd64I recommend renaming the long folder name to "Rclone" and moving it directly to the C drive. Then you only have to type cd C:\Rclone
Run the command
rclone configThis brings up the same guided prompts as outlined above.
With a non-administrator command prompt open, you can now mount the SharePoint drive with the following command (replace "kennedylab" with the name you provided earlier):
rclone mount kennedylab: L: --network-mode --vfs-cache-mode fullVerify that you can now see and interact with the mounted drive.
Automatic mounting of the drive takes several extra steps, contact IT for help.
