How to Upgrade to Windows 11 (by Oct 2025)
The world and the university are transitioning to Windows 11. Microsoft has designated October 14, 2025 as the last day of support for Windows 10. After this date, Windows 10 operating systems will no longer receive security updates, non-security updates, or online technical content updates. Using Windows 10 beyond its end-of-life date poses significant security risks to the system and data. As a result, the university will transition all university-owned workstations to Windows 11 well before October 14, 2025.
Note: Any Windows computers that run offline do not need to be upgraded. Older lab equipment that requires these old systems can still be used so long as the computer stays off the network. Do keep in mind that as these systems age, replacement parts and the ability to repair them becomes increasingly difficult.
This guide outlines how the Department of Pharmacology plans to make the transition. There are essentially three options:
- Preferred Option: Follow the instructions below to download and install Windows 11 on your own computers that are currently running Windows 10. This option allows you to upgrade at a time that is convenient for you and does not require IT intervention.
- Schedule a time for Matthew to upgrade your computer.
Upgrade by Downloading Windows 11
The simplest way to upgrade is to follow this link to download Installation Assistant for Windows 11. Once downloaded, launch the file from your browser downloads list or from inside your downloads folder.
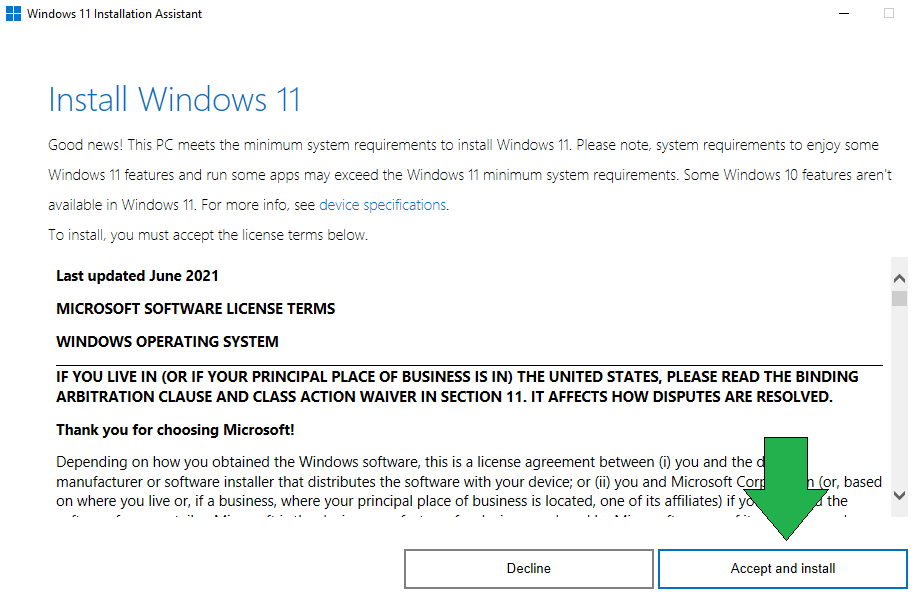
Click The Accept & Install Button
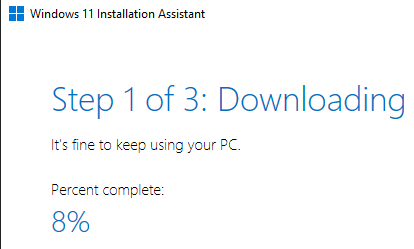
It will take a few minutes to download. While you wait, doublecheck that you have backed up any essential data.
It will run a quick verification, and then begin installing (which takes around 30+ minutes):
Note: You can click the X in the top right to cancel the installation.
Once it is ready and you've closed any open programs, click Restart now, the computer will then take about 15 minutes to complete the installation:
Photos
Once you are fully logged in, Most of your settings should still be in place. The start menu and icons will have moved to the center:
Settings Adjustments
Open up Windows settings by pressing the WindowsKey+i (or open the start menu and click settings).
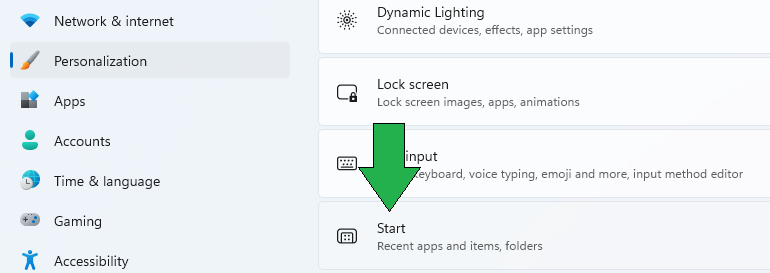
Select "Personalization" on the left side and go to "Start"
Turn off the setting for recommendations (you can adjust other settings here as desired):
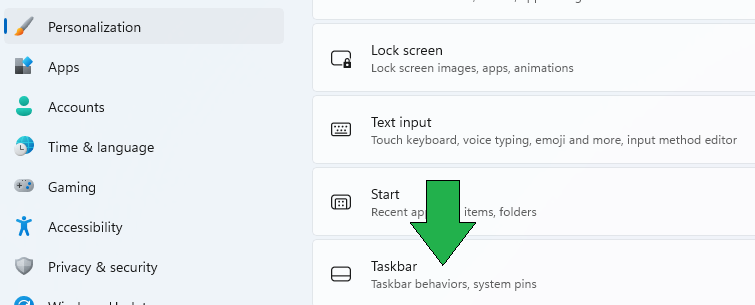
Next, go back to Personalization and go into Taskbar settings:
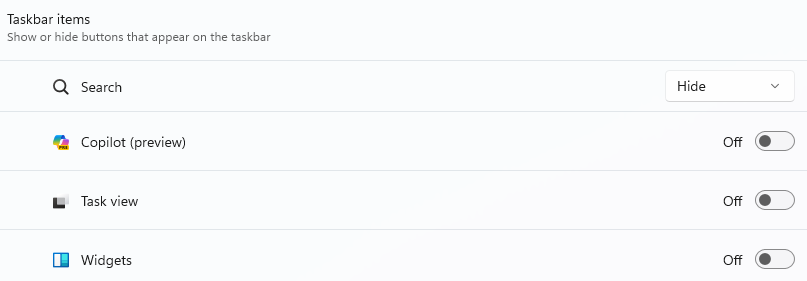
For the cleanest taskbar, set the first four settings off:
Scroll down and expand the Taskbar behaviors section. Change alignment to "Left" which will make the taskbar look more like Windows 10. Most of the other settings can be left as is according to your preferences.

