How to Install the Konica Minolta Printers
The department uses tracking codes for prints and copies in order to fairly charge printer expenses in excess of $150 a year to the appropriate labs.
If you do not complete the tracking code step, you will not be able to print!
This guide is split into a Windows section and Mac Section.
-
North Tower: 140.226.99.12South Tower: 10.35.106.164
Windows Guide
Start by downloading the Windows Drivers files by clicking here.
Run the Installer
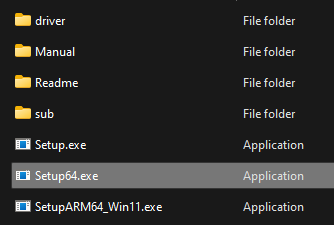
1. Once the download is completed, right-click the zip file File Explorer and select "Extract All," then press the "Extract" button on the pop-up. This will give you a folder named Windows11. Open the folder and double-click on "Setup64.exe"
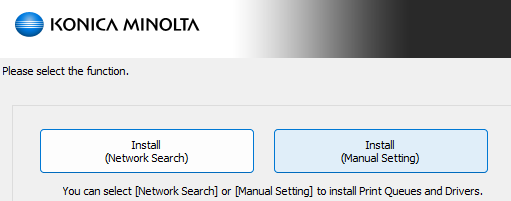
2. Check the "Agree" box and click Next when the program opens. Then click "Install (Manual Setting)":
3. The program will attempt to automatically find the printer, but won’t succeed. You need to click "Specify manually" choose the third option (IPv4,IPv6 Address), and type in the IP Address manually (see top of this document), then click "Next."
Before you can print on Windows, there are a few more settings to change. Go back to "Printers & Scanners" and click "Manage" for your printer.
Configuring the Printer with your Lab Code
Mac Guide
Start by downloading the Mac Drivers files by clicking here. (Or here if you are on MacOS Catalina or earlier)
You may not need to install these files if you have previously connected to one of the Konica Minolta 360i machines.
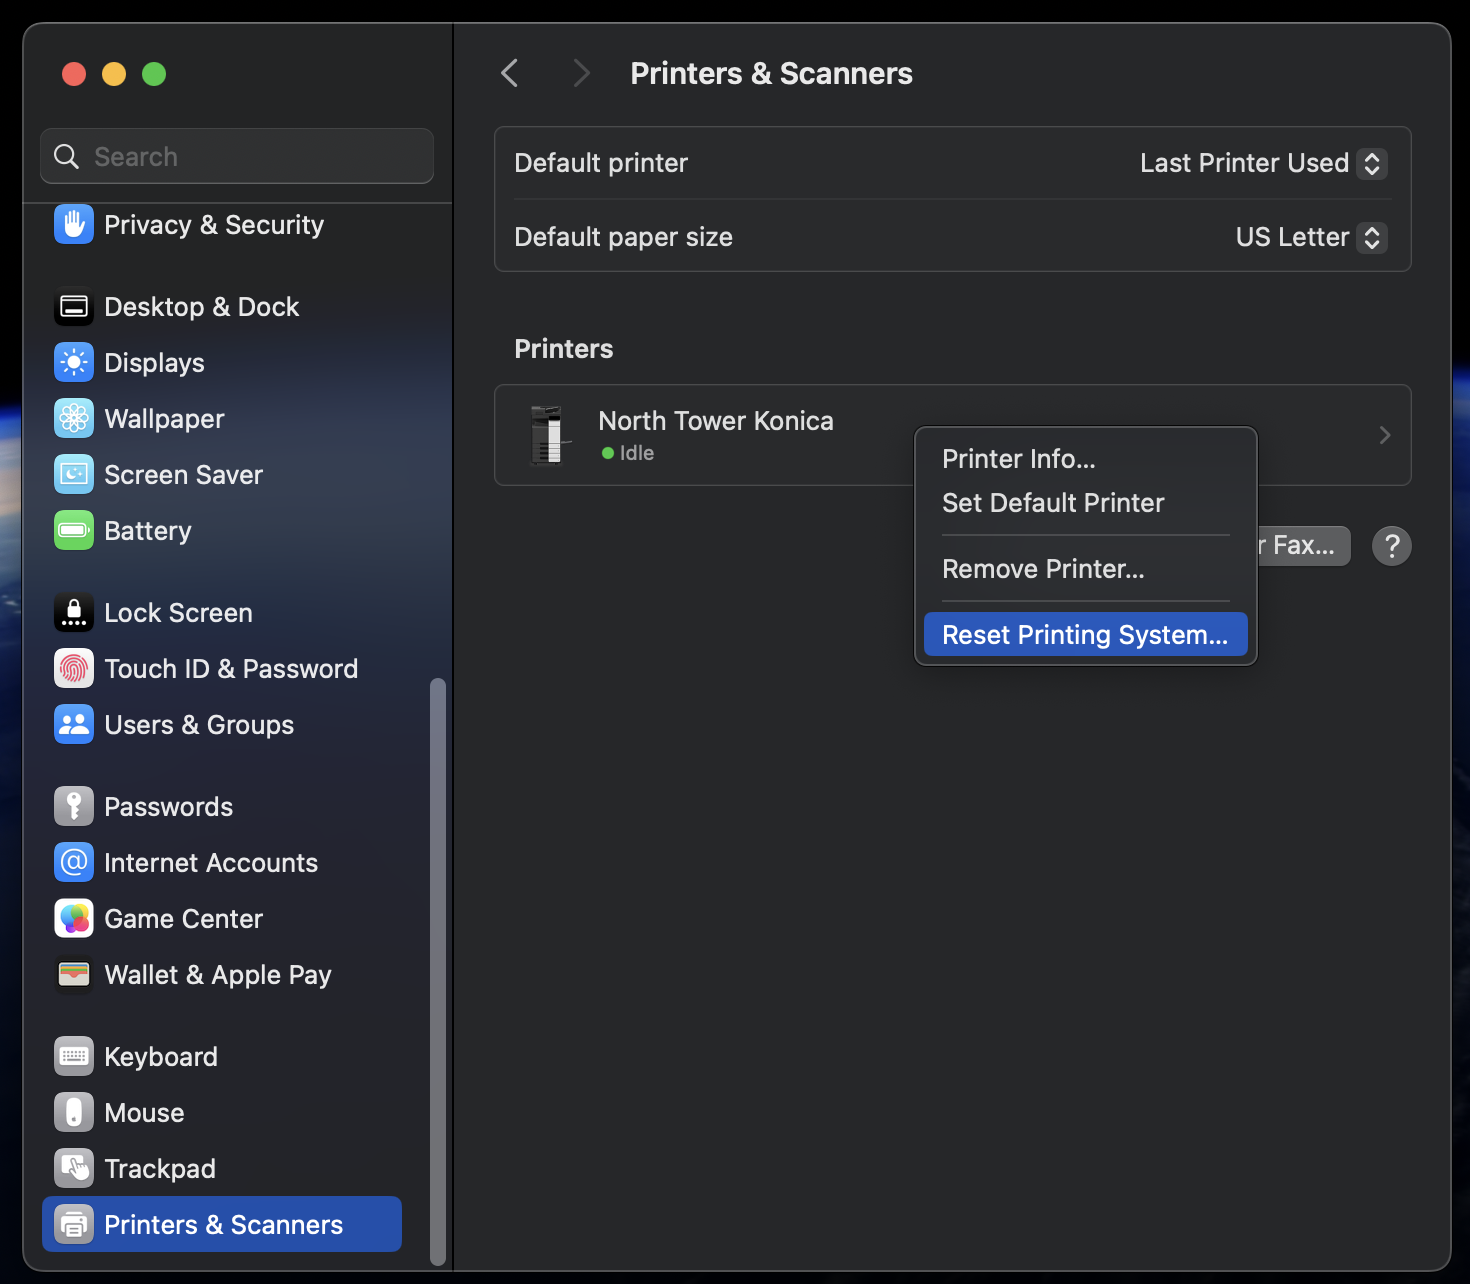
If your Mac has stopped printing after a MacOS update, you may need to reset the printing system and then follow the rest of the steps below. To reset the printing system, right click anywhere inside of the Printers & Scanners window and select "Reset Printing System" and confirm. Please note that this will remove ALL your current printers.
Installing the Drivers
1. Open the dmg file that you downloaded (Monterey link above) earlier, it should mount a drive called IT6: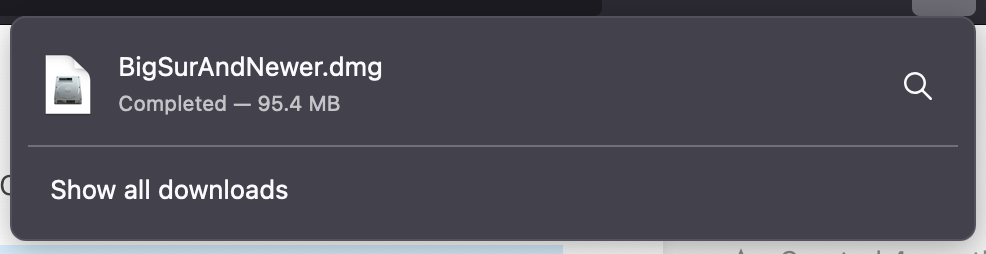
2. Drag the pkg file to your desktop and double-click it: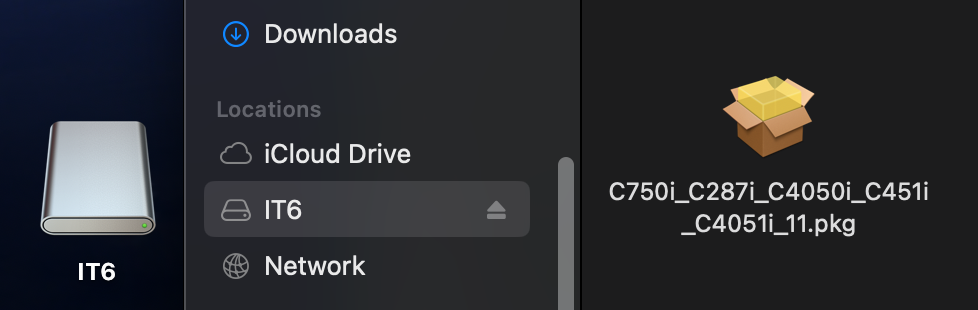
3. Leave all the default settings as you click through the prompts: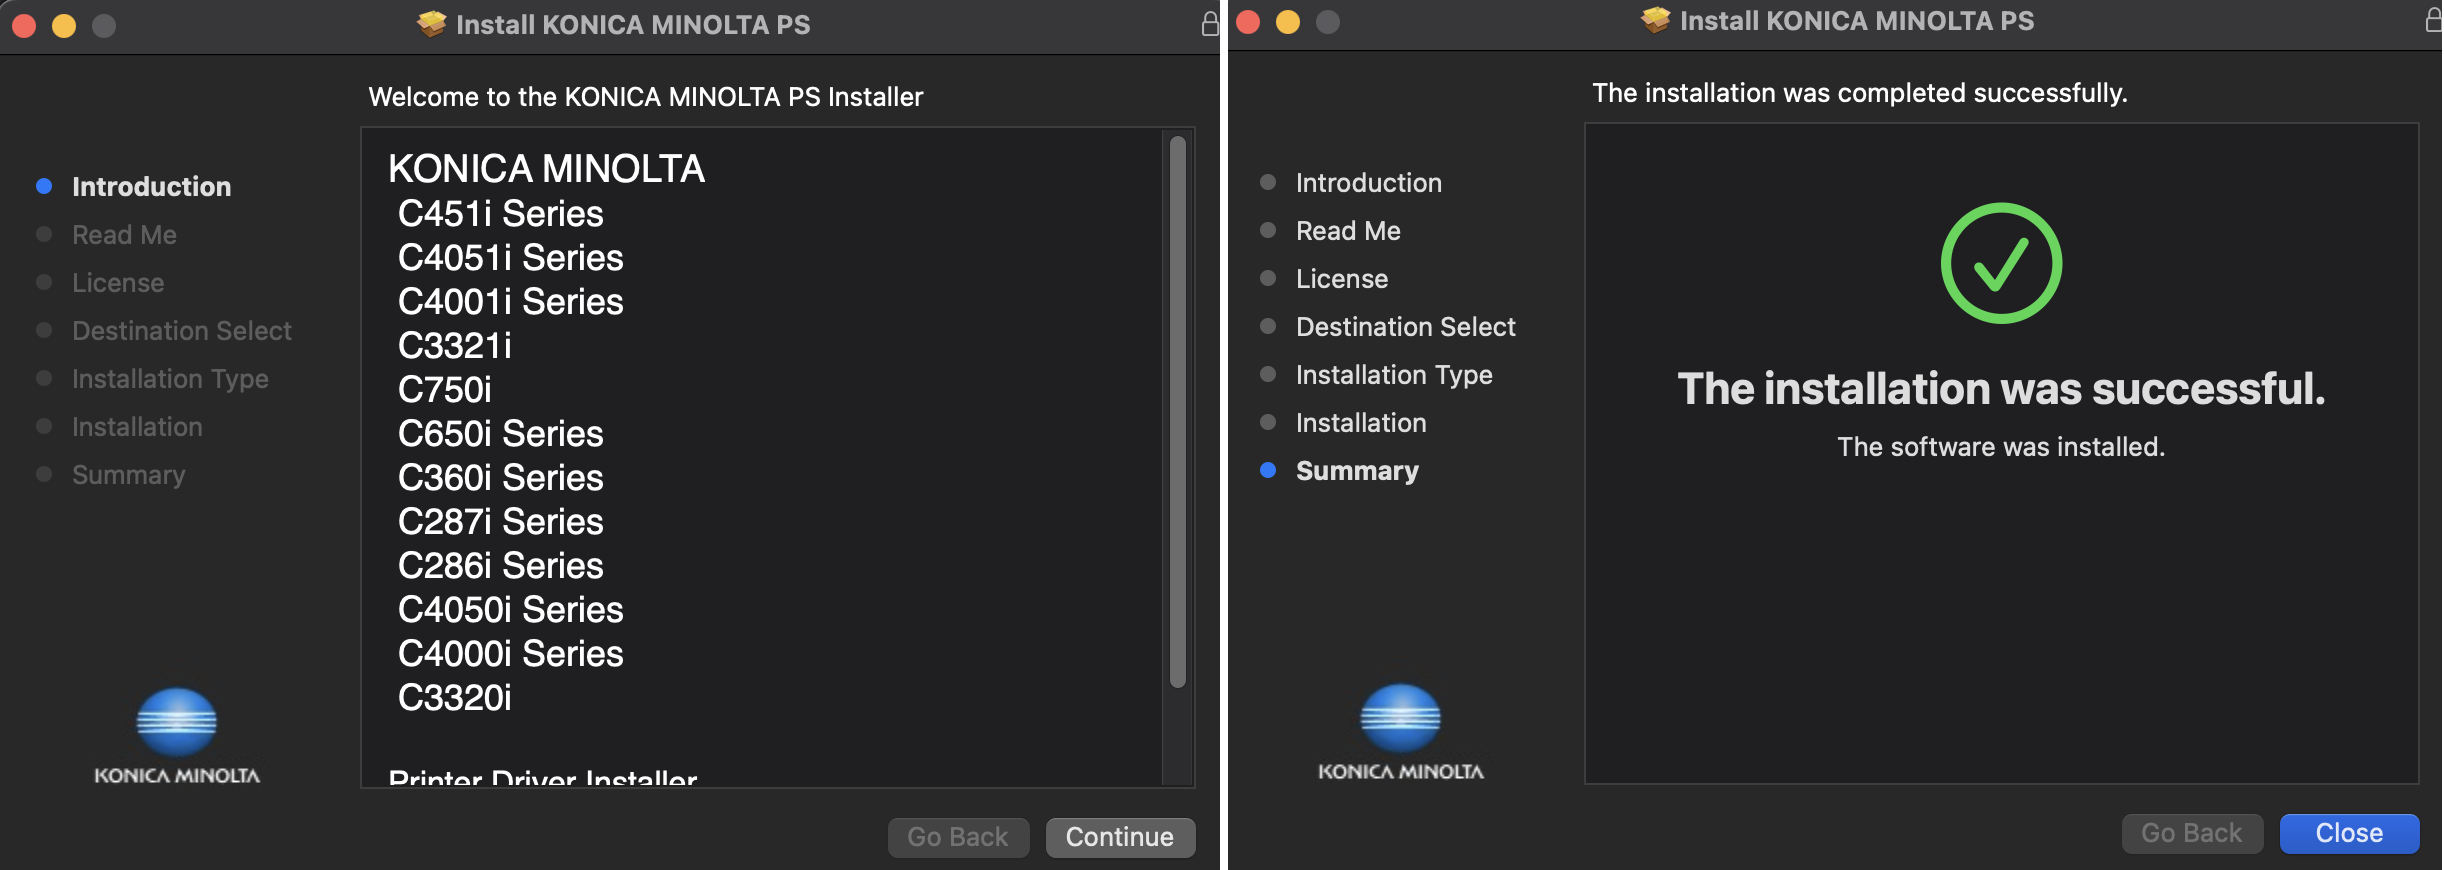
You may now close the installer and eject the IT6 drive.
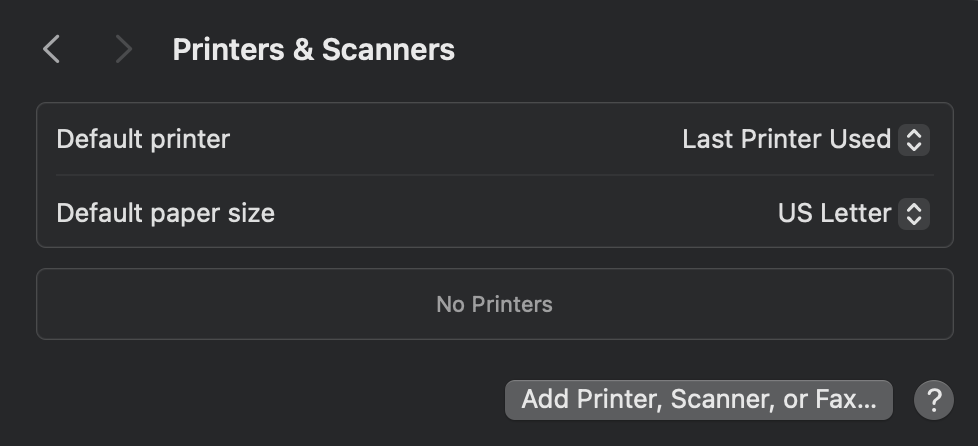
Adding the Printer
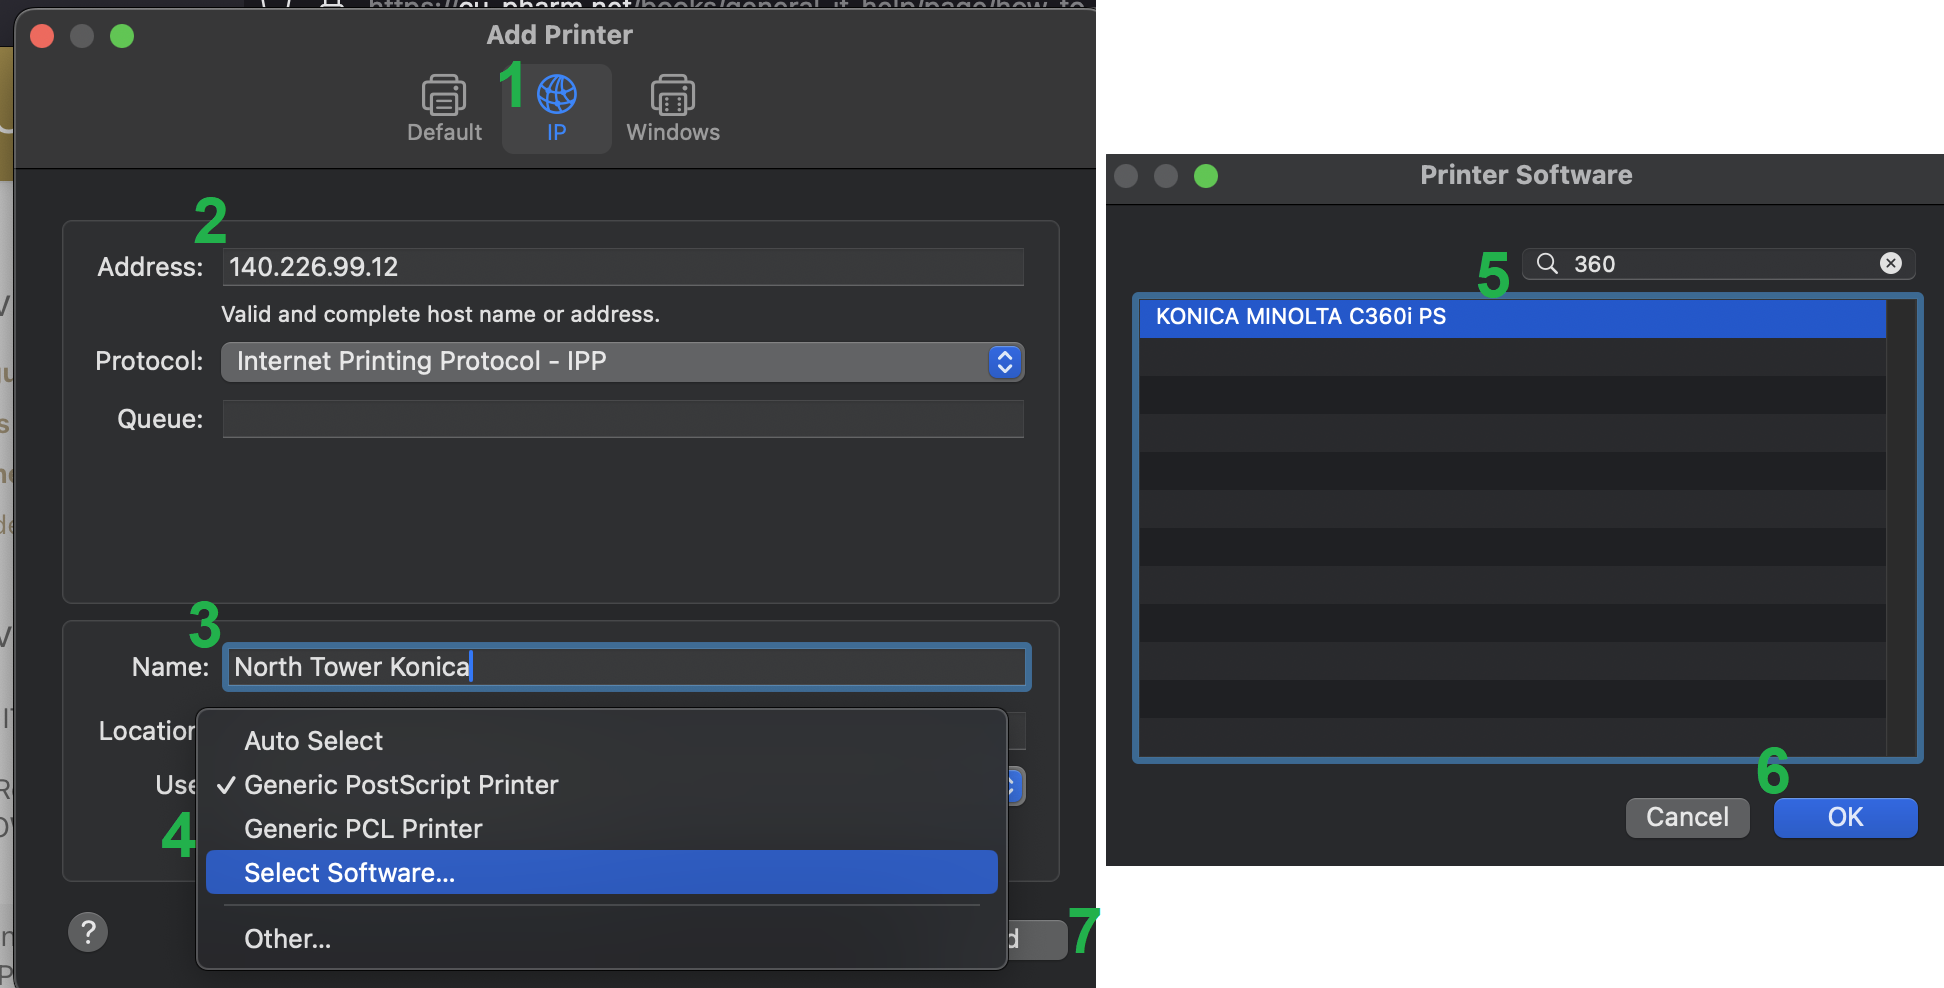
2. On this next window you will:
- Click the Globe IP icon in the center at the top
- Type in the IP address of the printer you want to install (140.226.99.12 for North tower or 10.35.106.164 for South Tower)
- Name the Printer (optional)
- Click the “Use” dropdown menu and select "Select Software"
- Find and select “KONICA MINOLTA C360i PS” from the list of options that appear.
- Click OK
- Click Add

3. On the next window that pops up, turn off "Allow Public User" and click OK: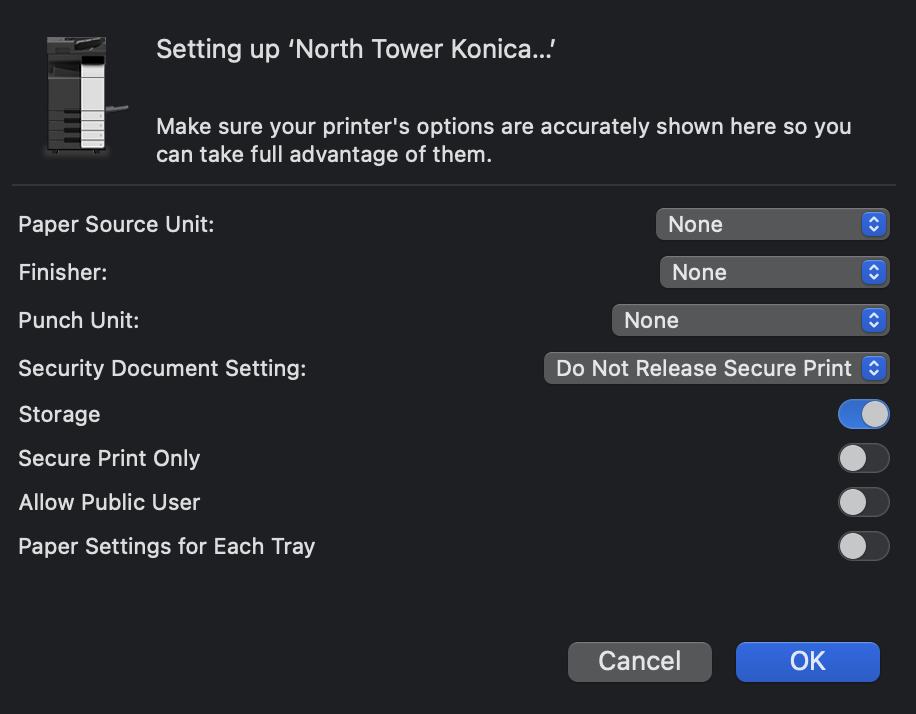
Configuring the Printer with your Lab Code
1. Now open Microsoft Word and press CMD+P as if to print a blank page. Scroll down and expand "Printer Options" and select the 'i' next to "Output Method."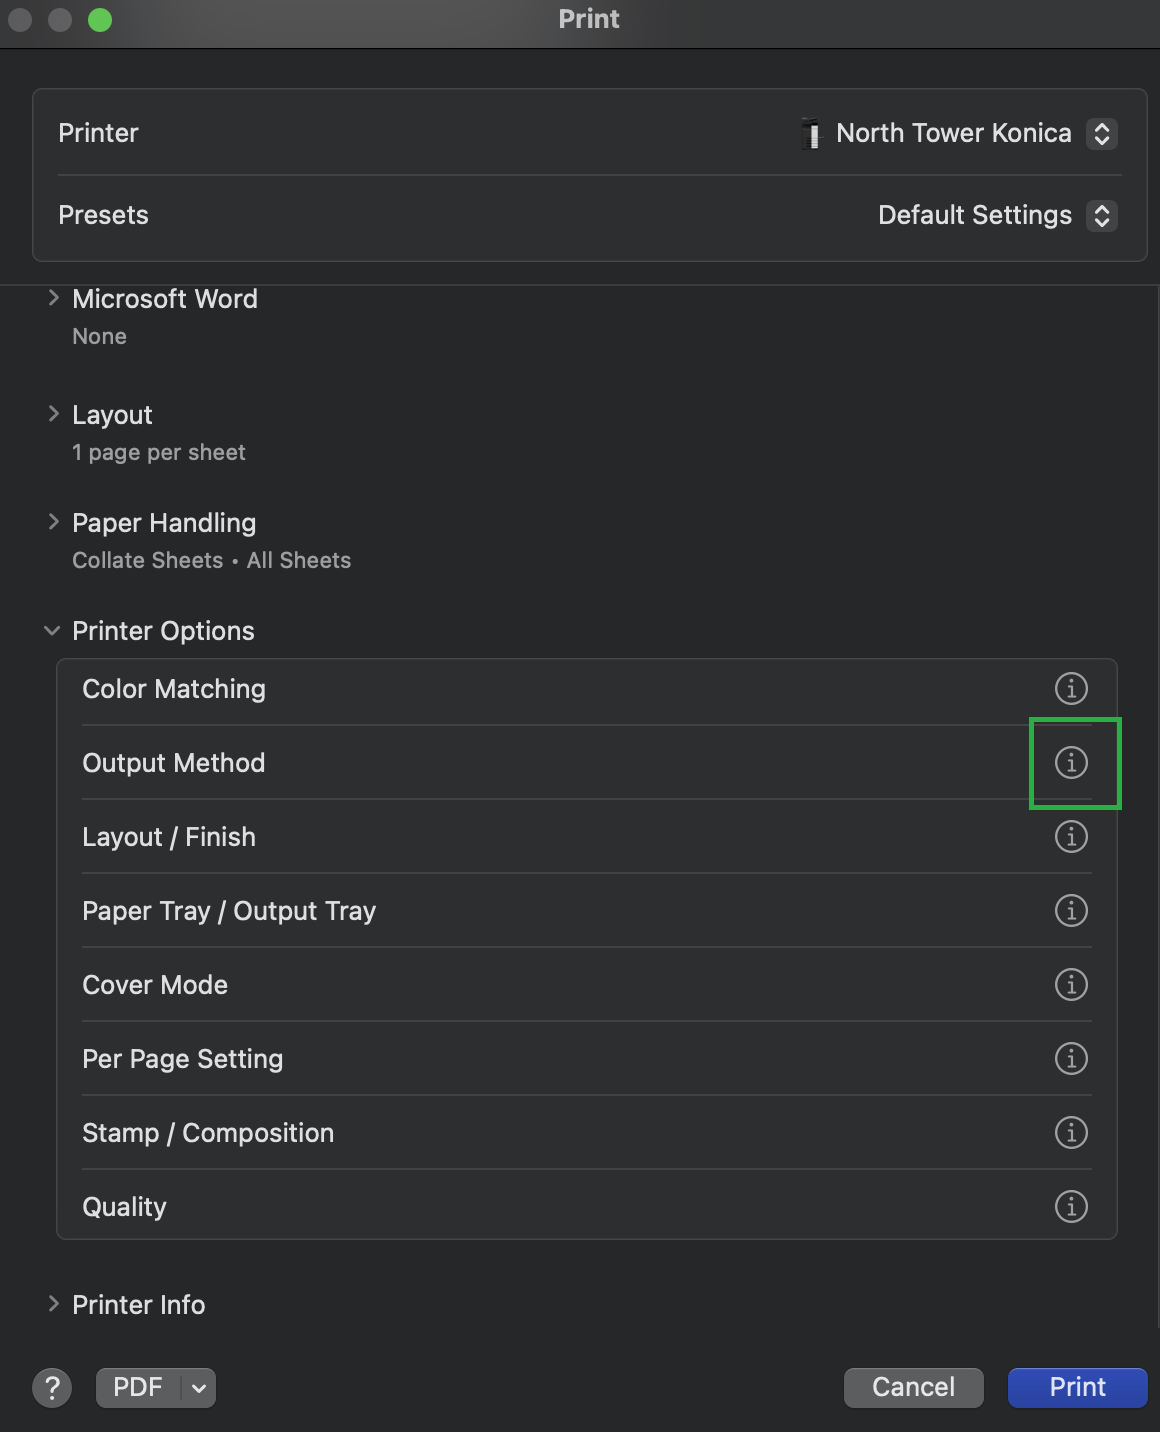
If you do NOT see "Printer Options" or "Output Method" here, you will need to use a different program. It is simplest to go to google.com in a browser and press CMD+P. Then select "Print using the system dialog..." You should then see the same settings as the screenshot above for "Output Method." If you still don't see "Output Method," you will need to reset the printing system and reinstall the drivers.
2. On the next pop-up screen, check the box for “Account Track.” Then put in your lab's copier code for the password and check the box for “Save Settings” before pressing OK twice.
If the "Save Settings" checkbox is greyed out, you will need to reset the printing system and reinstall the drivers.
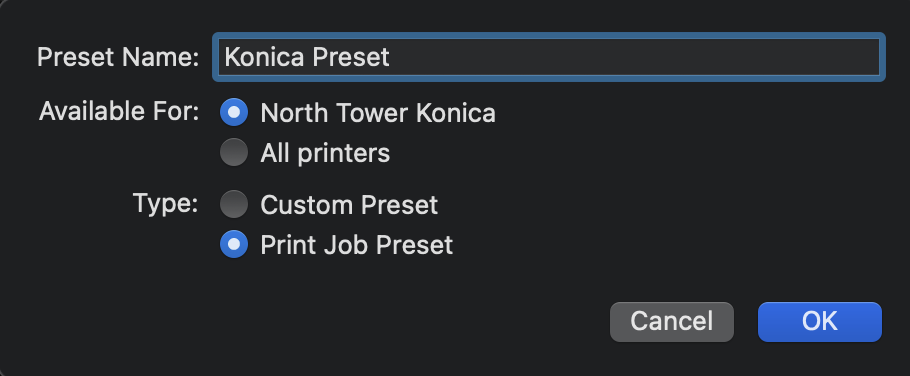
3. Back on the main printing window (Microsoft word or system dialog), change "Default Settings" to “Save Current Settings as Preset…” Name it something easy to remember and use that preset each time you print: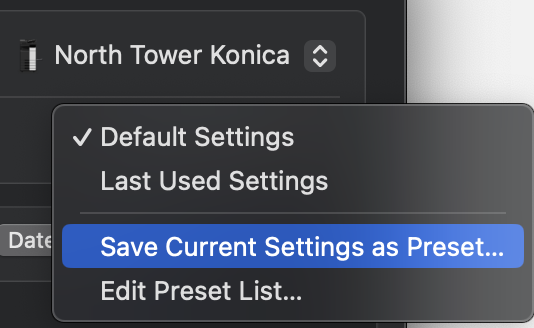
4. You can now close the print window, and the printer should now be ready to use!
Ensure you select the preset you created whenever you print to the Konica Minolta Printer since it has your lab code password saved.