How to Use SharePoint as a Shared Drive
Instructions for the IT Admin, PI, and/or Lab Manager (expand box below):
Setting up a Lab Share
Click "+ Create Site" in the top left corner:
Choose "Team Site" and then "Standard team"
Fill in the details for your site, be sure to take a note of the site address: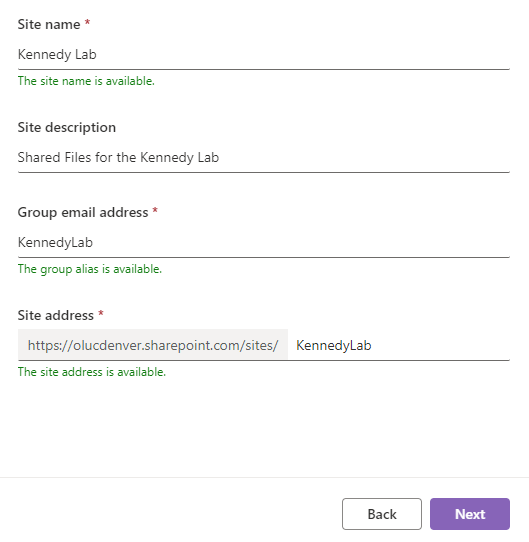
Leave the next page of settings on "Private" and click "Create site"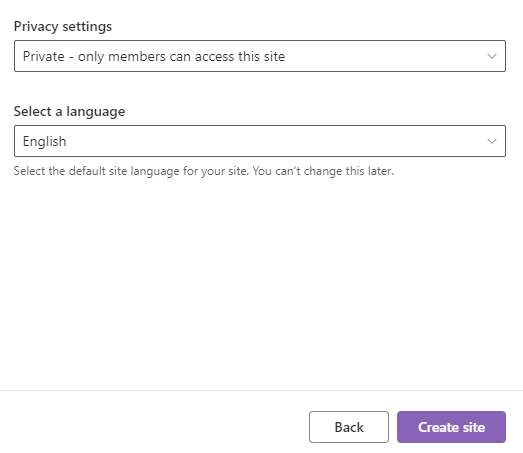
You can add members now, or follow the rest of the setup steps first (in this guide we'll skip adding members for now). You will see the site page with several pop-ups and options for customization. You can alter these if you like, but for our purposes (file sharing), we will leave everything as is for now.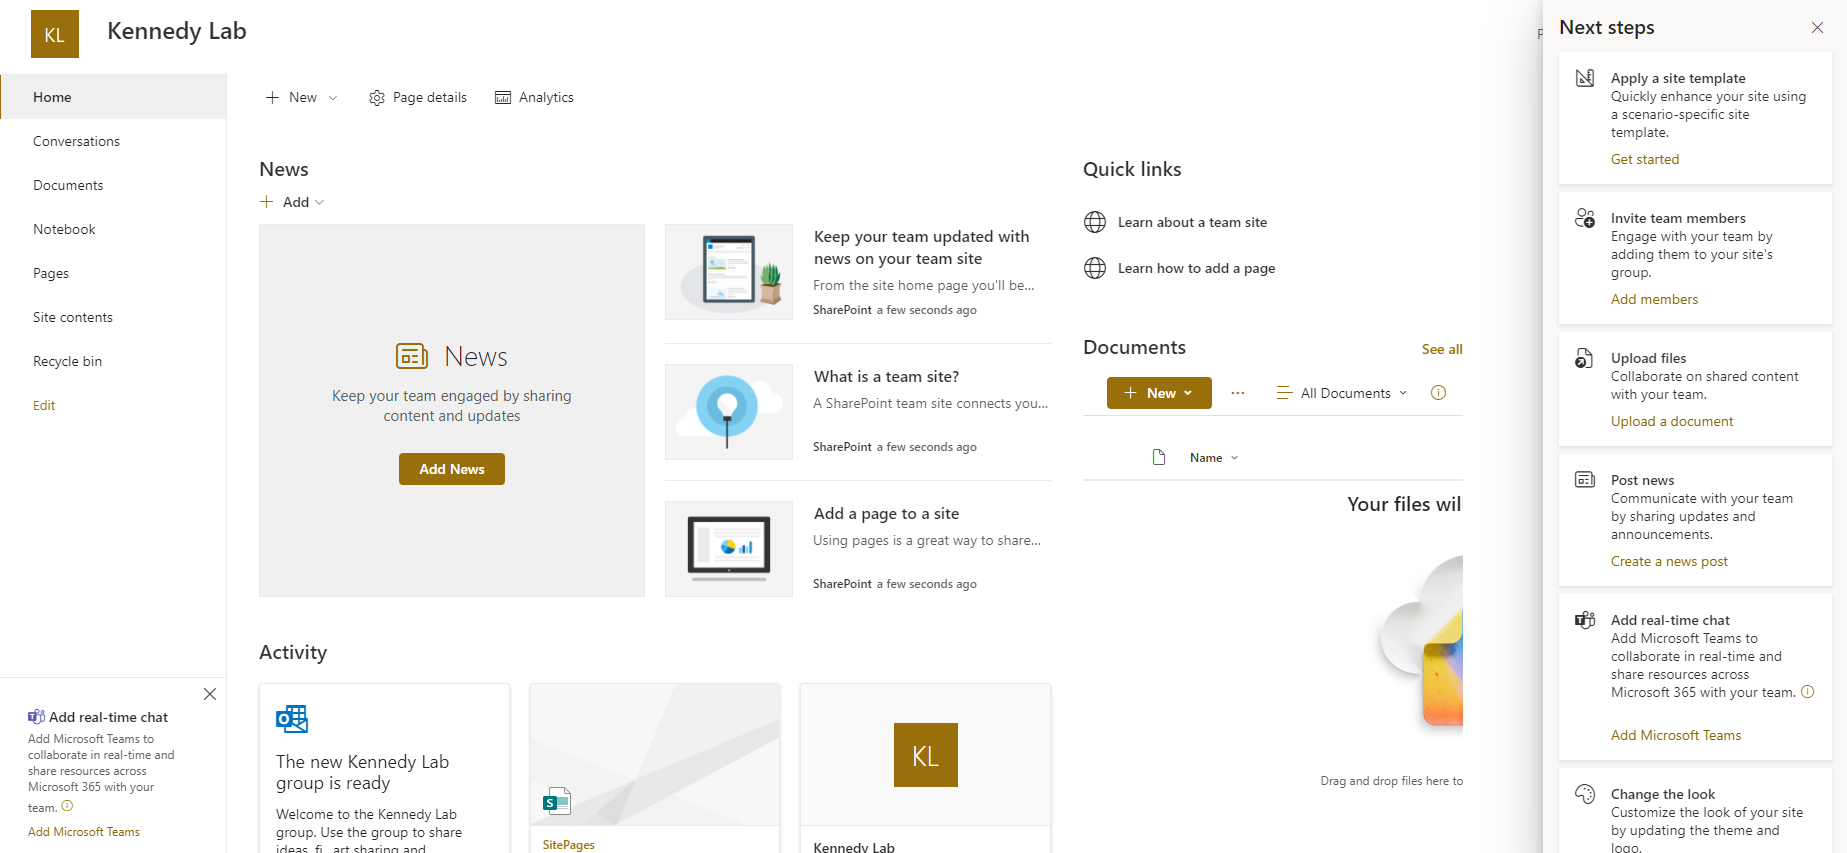
Once you have everything the way you'd like, you can add members by click the number of members in the top right (which should be 1):
Start typing the person's email that you are inviting, and click the correct result. (Note that you can only invite people to your share if they have a @cuanschutz or @ucdenver email address).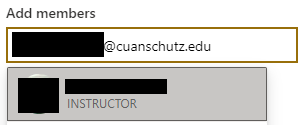
Keep adding names until all the appropriate lab members have been added.
It is a good idea to have a second owner of the site as well. Generally, the owners will be the IT Admin, lab manager, and/or PI. Use the dropdown under the person's name to select "owner" for these individuals.
After you click "save," the individuals will receive a welcome email. If they use outlook on the web, they can access the same features of the SharePoint site by clicking the name of the group at https://outlook.office.com/groups
For Lab Members
For more streamlined use, we recommend following this guide to use Rclone instead of OneDrive. OneDrive instructions are provided below if you would rather use it.
If you have a lot of files in your OneDrive, the initial sync may take a long time. Please wait for it to finish before following the rest of these steps!
Request from your Lab Manager to be added as a member to your Lab SharePoint page if you haven't already received the welcome email:
If you do not know the address of your lab's SharePoint page, ask your Lab Manager or IT Admin. You can also navigate to it by following the link in the welcome email that looks like this: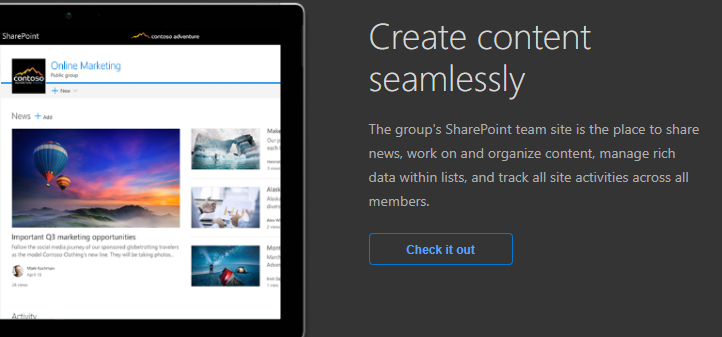
You can bookmark the site for future reference.
After you have OneDrive installed, go to the SharePoint page (see above) and click on "Documents" on the left side. Then click the "Sync" button on the ribbon:
You will get a popup asking for permission to use OneDrive (make sure you've installed OneDrive), check the box and click "Open"
After some loading, you should then see a pop-up confirming that files are now being synced:
Now open file explorer and there should be a new drive called "The University of Colorado Denver" that has the name of your lab share inside:
If you copy a file into this folder (or save a file into this folder) it will sync with the share. Syncing will be a bit slower than using Isilon drives, but after a few moments you should see the status change from the sync icon to a green checkmark: becomes
The process is the same on a Mac computer, but looks slightly different:
If you look back at the SharePoint site, you will see the file(s) in the list. If you want to drag and drop files directly into the documents folder on the SharePoint site (instead of using File Explorer), that is an option as well.
The advantage to using OneDrive is that you can remove the file from your computer entirely while still keeping it in SharePoint, freeing up computer space. Any files that have a green check mark icon are saved locally. You can right-click them and choose "Free up space" and it will be deleted from your computer (but kept in SharePoint):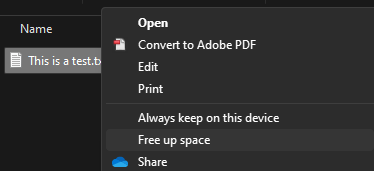
Now the icon will be a cloud. If you need to access the file, double-click on it and it will be downloaded on demand (changing back to a green checkmark). Any time you save any changes, it will briefly sync before returning to a green checkmark.
In file explorer and on the SharePoint site, all lab members can be simultaneously working with files. Keep in mind that when you see the sync icon on a file, it is likely open by another lab member or in the process of saving.
Keep in mind that each computer that you want to sync to the SharePoint files will need to go through these steps. Think of it as mounting the drive on that computer.

